
Changing your Domain Name Server (DNS) is an easy way to improve internet speeds and security. While there are many paid options, you’ll also find some excellent free DNS server providers out there. Make sure you choose with care — not all DNS servers are better than the default settings assigned by your Internet Service Provider (ISP).
Yes, you can change the Windows 10 DNS settings for more private and reliable services, and in this guide, we’ll show you how.
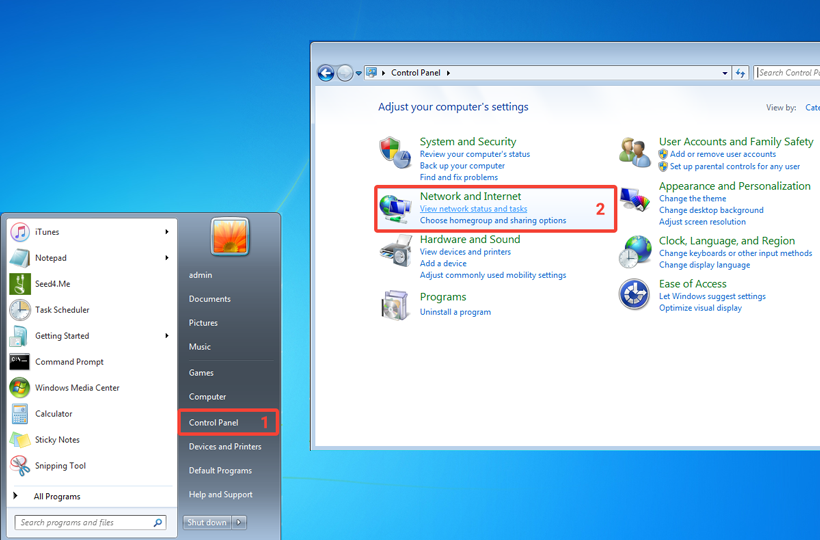
Step 1
Click on Windows icon, open Control Panel and select View network status and tasks.
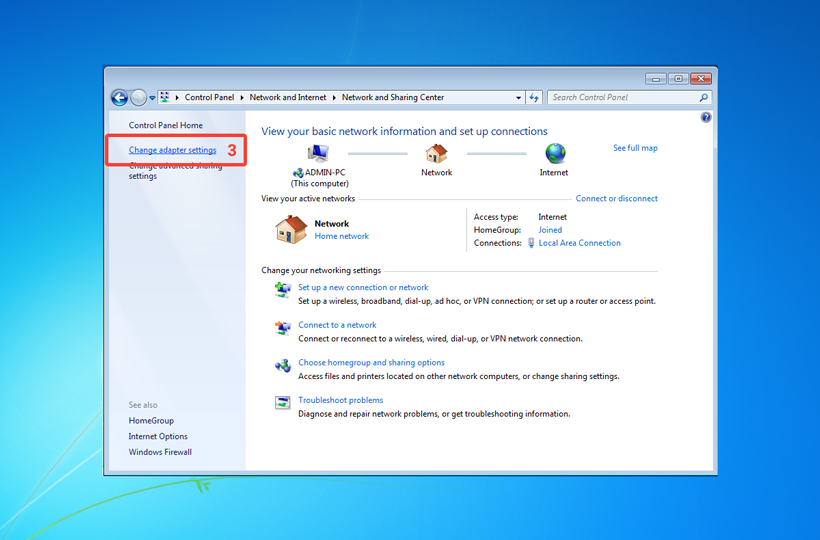
Step 2
Select Change adapter settings in the left sidebar.
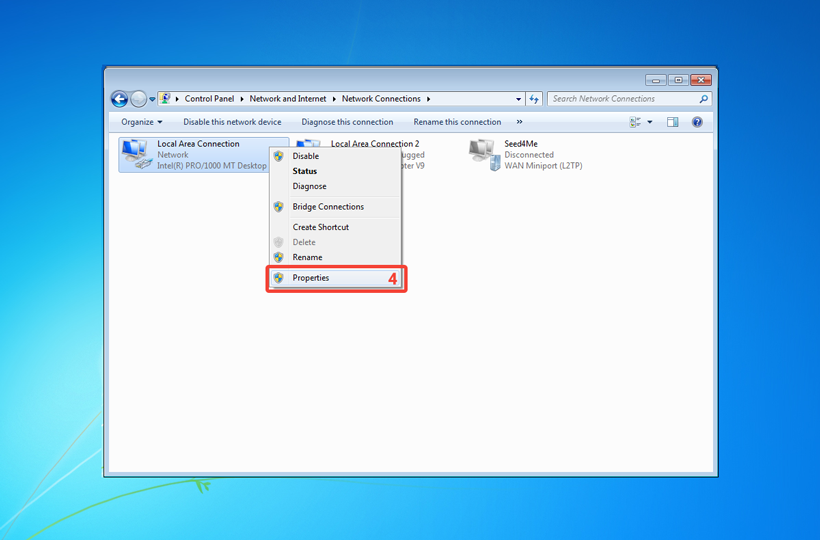
Step 3
Right-click on the Internet connection that you use (Ethernet or Wi-Fi) and select Properties in the pop up menu.
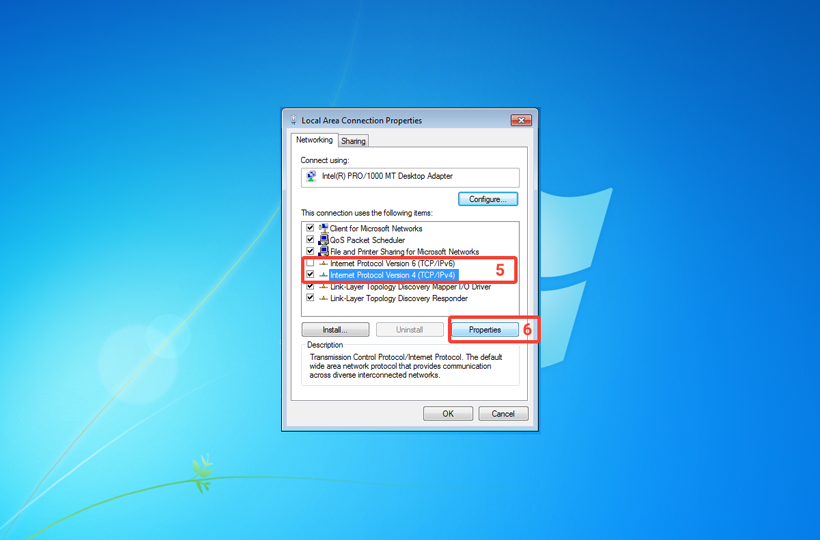
Step 4
First, disable Internet Protocol Version 6 (TCP/IPv6).
Second, select the point Internet Protocol Version 4 (TCP/IPv4) and click on Properties.
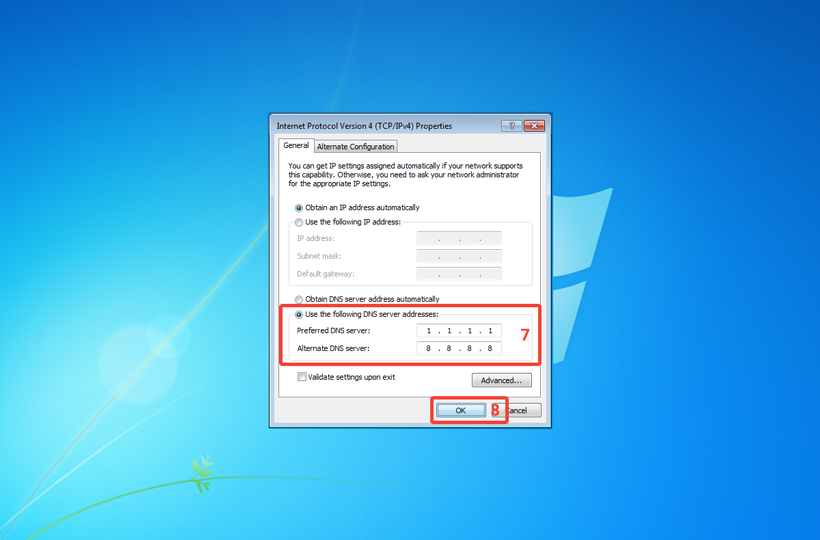
Step 5
Select the point Use the following DNS addresses and enter the DNS addresses (scroll down to see the recommended DNS servers) in the fields Preferred DNS server and Alternative DNS server.
Now click on OK button to save changes.
Which DNS server should you use?
– Cloudflare (the fastest one)
- 1.1.1.1
– OpenDNS
- 208.67.220.220
- 208.67.222.222
– Google DNS (it doesn’t work in China)
- 8.8.8.8
- 8.8.4.4
– YandexDNS (use if you are in Russia or China)
- 77.88.8.1
- 77.88.8.8